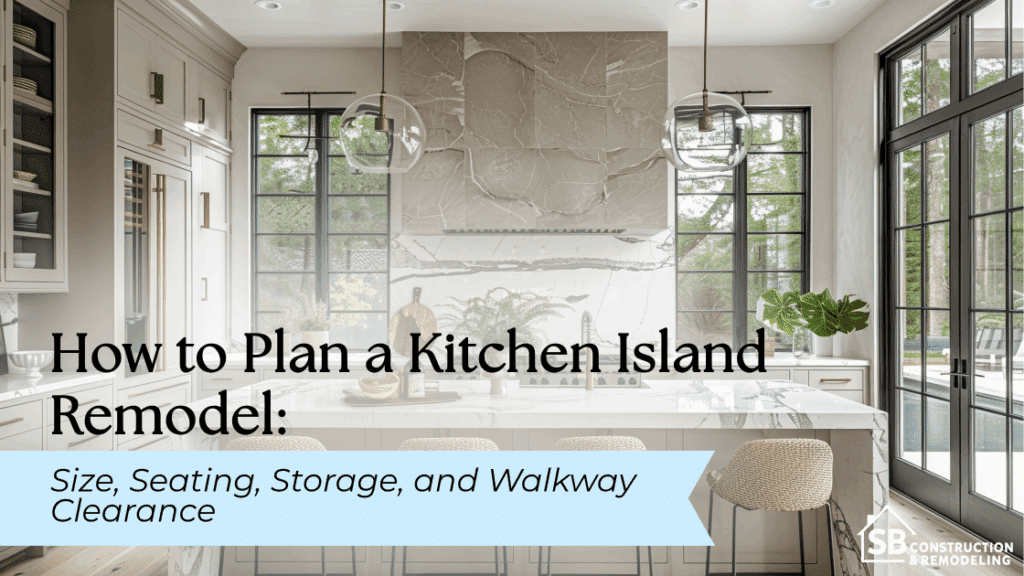
A successful kitchen island remodel starts with circulation and everyday use, not with choosing the largest island that can physically fit. Common kitchen-planning benchmarks distinguish a general walkway from an active work aisle, with roughly 36 inches often used for general passage, about 42 inches for a one-cook work aisle, and about 48 inches where multiple people regularly cook. These are planning recommendations, not universal building-code minimums, and the final layout should also account for appliances, seating, accessibility, and the property’s jurisdiction.
For Los Angeles homeowners, an island may also affect plumbing, electrical, ventilation, cabinetry, and permitting. The goal is to solve all of those relationships before cabinets and countertops are ordered.
Start With the Kitchen Island’s Purpose Before Choosing Its Size
Before drawing the island, make a short list of what it actually needs to do. An island designed mainly for chopping vegetables and storing cookware may be relatively simple. An island intended to seat four people, hold a sink and dishwasher, provide trash storage, and double as an entertaining space needs substantially more coordination.
This functional-first approach is also consistent with SB Remodeling’s current kitchen remodeling services, which emphasize kitchen layout, cabinetry, countertops, appliances, and everyday workflow.
Decide How the Island Will Be Used
Identify the activities that matter most:
- Food preparation
- Casual dining
- Entertaining
- Additional countertop space
- Storage
- Homework or laptop use
- Sink or dishwasher placement
- Cooking
A family that regularly eats breakfast at the island may prioritize seating differently from a homeowner who wants uninterrupted prep space.
Identify the Features That Need to Fit Into the Island
Create a second list for physical components. That may include a sink, dishwasher, cooktop, microwave, outlets, trash and recycling pull-outs, drawers, cabinets, and stools.
Each feature consumes space inside or around the island. A dishwasher, for example, takes away cabinet storage and creates an open-door zone in the aisle.
Separate Must-Have Features From Optional Features
Not every desirable feature needs to make the final plan.
Rank the island into three groups: essential, useful, and optional. If four stools force the island into an uncomfortable walkway, three comfortable seats may create a better kitchen than four cramped ones.
Measure the Kitchen Before Determining Island Dimensions
Kitchen island size should be calculated from the room outward, rather than selecting an island dimension first and trying to make the kitchen fit around it.
Measure the Available Floor Space
Document:
- Wall-to-wall dimensions.
- Existing countertop edges.
- Refrigerator, range, dishwasher, and sink locations.
- Door and doorway locations.
- Pantry doors and cabinet openings.
- Connections to dining, living, or hallway areas.
Do not measure only the empty floor in the middle of the room. What matters is the clear space remaining after countertops, appliances, doors, seating, and circulation are considered.
Account for Cabinets and Appliances That Open Into the Walkway
An aisle that looks generous on a floor plan can become tight when a dishwasher is lowered, an oven is open, or two large refrigerator doors swing outward.
Check the manufacturer specifications for the actual appliances being installed. Refrigerator depth, handles, hinges, oven doors, and dishwasher doors can all affect usable clearance.
This is one reason early field measurement is an important part of SB Remodeling’s project-planning process.
Avoid Making the Island Too Large for the Room
A bigger island does not automatically create a better kitchen.
An oversized kitchen island can restrict circulation, interfere with drawers, make opposite counters difficult to reach, or create an awkward path between the refrigerator, sink, and cooking area. In a compact kitchen, preserving open floor area may be more valuable than gaining another cabinet.
Homeowners working with limited square footage can also review these small-kitchen planning ideas before committing to a large island.
Plan Walkway Clearance Around the Kitchen Island
Walkway clearance should be treated as part of the island design, not as leftover space.
The National Kitchen & Bath Association publishes professional kitchen-planning guidance covering activity zones, clearances, equipment locations, accessibility, and related design considerations. Review NKBA’s current Kitchen & Bath Planning Guidelines
Common planning benchmarks include:
| Circulation condition | Practical planning benchmark |
| General kitchen walkway | About 36 inches |
| Active work aisle for one cook | About 42 inches |
| Active work aisle for multiple cooks | About 48 inches |
| Walk-past space behind seated diners | About 44 inches |
These figures should be treated as design guidance. Accessibility needs, appliance specifications, local requirements, and the specific household may call for more space.
Plan Clearances for General Walkways
A walkway primarily used to travel through the kitchen is different from the aisle between an island and a working countertop.
Map where people travel to the refrigerator, pantry, dining area, patio, or hallway. A major household traffic route should not force people through the cook’s primary work area whenever possible.
Allow More Working Space in Busy Cooking Areas
An active work aisle is the space where someone stands, turns, preps food, loads a dishwasher, or uses an appliance.
A kitchen used by two people at the same time will often benefit from more clearance than a primarily one-cook kitchen. The island should support the household’s normal routine rather than a theoretical minimum.
Check Appliance Door and Drawer Clearance
Test the island against:
- Refrigerator doors and freezer drawers
- Dishwasher doors
- Oven doors
- Cabinet drawers
- Trash and recycling pull-outs
- Pantry doors
Pay particular attention when two opening components face one another.
Test the Layout Before Construction Begins
One of the simplest tests is to place painter’s tape on the floor at the proposed island perimeter. Add cardboard or temporary markers where stools will extend into the room.
Then open the refrigerator, dishwasher, oven, and nearby cabinets while another person walks through the kitchen.
A digital layout or 3D remodeling design can provide another way to evaluate proportions and circulation before construction begins.
Calculate Comfortable Kitchen Island Seating
Island seating affects far more than the number of stools. It influences total island length, countertop depth, overhang, structural support, and the walkway behind the people sitting there.
Determine How Many People Will Regularly Use the Island
Start with normal daily use rather than maximum holiday capacity.
Ask:
- How many household members will use it every day?
- Will children frequently sit there?
- Is the island the primary breakfast area?
- Will guests regularly gather there?
- Could occasional seating be handled elsewhere?
Allow Enough Width for Each Seat
A useful planning benchmark is approximately 24 inches of width per seated person. Stool dimensions and the size of the people using the space may justify additional room.
Trying to fit an additional stool into the same island length can make every seat less comfortable.
Plan the Countertop Overhang for Seating
Countertop height and seating height affect required legroom.
Longstanding NKBA planning guidance uses approximately 24 inches of width per diner and varies knee-space depth by counter height. At a typical 36-inch-high counter, roughly 15 inches of clear knee space is a useful planning reference.
The finished overhang should also be reviewed with the countertop fabricator or design professional because support requirements vary with material, thickness, span, cabinet construction, and the countertop manufacturer’s instructions.
Protect the Walkway Behind Seated Guests
Do not measure circulation only when stools are pushed under the countertop.
A person sitting down occupies space behind the island. If household traffic must regularly pass behind that person, plan for the seated position and the travel path together.
Design Kitchen Island Storage Around Everyday Use
A kitchen island can provide excellent storage, but the cabinets should follow the way the kitchen is used.
Use Deep Drawers for Frequently Used Kitchen Items
Deep drawers are particularly useful for:
- Pots and pans
- Mixing bowls
- Food-storage containers
- Cooking utensils
- Small appliances
Items used near the cooktop should generally be stored where they can be reached without crossing the kitchen unnecessarily.
Add Specialized Storage Where It Improves Workflow
Useful options can include trash and recycling pull-outs, vertical tray dividers, spice storage, baking drawers, and cutting-board organizers.
For additional cabinetry planning ideas, see SB Remodeling’s guide to custom kitchen cabinet design.
Use the Seating Side for Less-Frequently Used Storage
The back of an island can sometimes accommodate shallow cabinets beneath the seating overhang.
This area can work well for serving pieces, seasonal items, or other objects that do not need to be reached while cooking.
Coordinate Storage With Plumbing and Appliances
A sink base, dishwasher, cooktop, electrical equipment, and plumbing lines all compete with storage.
Plan those systems before finalizing drawer widths and cabinet configurations. Otherwise, storage that looked available during concept design may disappear once utility requirements are incorporated.
Decide Whether the Island Should Include a Sink, Cooktop, or Appliances
A storage-only island is generally simpler to coordinate than one containing plumbing, electrical equipment, or cooking appliances.
Moving utilities can also affect project cost. Homeowners developing an early budget can use SB Remodeling’s home remodeling cost calculator as an initial planning tool, while recognizing that final pricing depends on the actual scope, site conditions, selections, permits, and contractor proposal.
Consider a Sink and Dishwasher for a Prep or Cleanup Island
A sink can create an effective prep or cleanup zone, particularly when paired with a dishwasher and trash storage.
However, plumbing must be coordinated with the existing building, floor system or slab, venting approach, cabinet layout, and applicable plumbing requirements. A contractor or plumbing professional should evaluate feasibility before the cabinetry is finalized.
Evaluate Cooktop and Ventilation Requirements Carefully
An island cooktop can keep the cook connected to the room, but it requires additional planning.
Consider ventilation, manufacturer-required clearances, nearby seating, hot surfaces, countertop landing space, electrical or gas connections where applicable, and how a ventilation system will integrate with the design.
Avoid positioning diners where normal cooking activity places them unnecessarily close to the cooking surface.
Plan Electrical Access Early
Electrical planning should occur before cabinetry fabrication.
California’s 2025 Building Standards Code became effective statewide on January 1, 2026, including the current California Electrical Code, while local amendments and enforcement procedures can also apply. Review the current California Building Standards Code
For properties within the City of Los Angeles, LADBS provides separate building, electrical, plumbing, and permit-review guidance. Some nonstructural residential kitchen remodels may be eligible for an express permit pathway, while structural modifications, electrical work, plumbing changes, or other scope can require additional permits or review. Review LADBS plan-check and permit guidance
A Los Angeles mailing address does not necessarily mean the property is within the City of Los Angeles, so homeowners should confirm the agency with jurisdiction before relying on a particular permit process.
Balance Island Size, Seating, Storage, and Clearance Before Finalizing the Design
The final kitchen island is a compromise among competing priorities.
Adding seating may reduce storage. Increasing island depth may reduce the aisle. Adding a sink may eliminate drawer space. Enlarging the island may improve countertop area while making the overall kitchen harder to navigate.
Review the Island as Part of the Entire Kitchen Layout
Before approving the layout, confirm:
- Comfortable circulation
- Appliance access
- Functional prep and cleanup zones
- Appropriate seating
- Useful storage
- Adequate countertop workspace
- Clear travel paths through the room
Looking at completed projects can also help homeowners evaluate proportions and layout decisions. SB Remodeling’s Long Beach kitchen remodeling project provides one example of a kitchen project focused on cabinetry, appliances, functionality, and improved circulation.
Have the Final Dimensions Verified Before Construction
Before cabinets or countertops are ordered, verify the island footprint, finished countertop dimensions, utility locations, appliance specifications, seating clearance, countertop support, and relevant building requirements.
Small measurement errors can become difficult to correct after custom cabinetry or stone has been fabricated.
Plan Your Kitchen Island Remodel Around the Way You Actually Use Your Kitchen
The best kitchen island is not necessarily the largest or the one with the most features. It is the island that fits the room while making daily cooking, storage, seating, and circulation easier.
A practical planning sequence is straightforward: measure the kitchen, establish work aisles and travel paths, decide how many seats and how much storage you actually need, coordinate appliances and utilities, and then finalize the dimensions with the project team.
Finalize the Layout Before Ordering Cabinets or Countertops
Resolve dimensions, seating, storage, appliances, utilities, and circulation first.
Cabinet orders and countertop fabrication should follow an approved layout, not drive it.
Work With a Kitchen Remodeling Professional on the Final Design
Homeowners planning a kitchen island remodel in Los Angeles can review SB Remodeling’s kitchen remodeling service and schedule a virtual remodeling consultation to discuss the existing kitchen, island goals, preliminary layout, storage needs, seating, budget, and next planning steps.
Frequently Asked Questions About Kitchen Island Remodels
How much clearance should I leave around a kitchen island?
A common planning benchmark is about 42 inches for a one-cook work aisle and about 48 inches where multiple people regularly cook. General passageways are often planned around 36 inches. These are design recommendations rather than universal code requirements. Appliance doors, seating, accessibility needs, and the room configuration may require additional clearance.
How much space should each kitchen island seat have?
Approximately 24 inches of width per person is a useful starting point for island seating. Stool width, household size, countertop height, legroom, and the distance behind seated diners should also be evaluated before determining the final island length.
Is 36 inches enough between a kitchen island and cabinets?
It may be adequate for some general circulation areas, but it is usually tighter than common planning guidance for an active work aisle between an island and working cabinets or appliances. A designer or remodeling professional should evaluate how the space is actually used before reducing an active aisle.
Does adding a sink to a kitchen island require a permit in Los Angeles?
It can. Moving or adding plumbing may require plumbing permits and must comply with the requirements of the agency that has jurisdiction over the property. City of Los Angeles requirements should not automatically be applied to properties in other incorporated cities or unincorporated Los Angeles County.
Should I put a cooktop on my kitchen island?
A cooktop can work well on an island when the layout supports it, but it requires careful planning for ventilation, utilities, manufacturer clearances, countertop work area, nearby seating, and safe circulation. It should be evaluated as part of the complete kitchen design rather than added after the island dimensions are established.
What should I finalize before ordering a kitchen island?
Finalize the island footprint, walkway clearances, seating count, countertop overhang, storage layout, appliance specifications, plumbing and electrical locations, countertop support, and applicable permit requirements. Confirming these details before fabrication can reduce costly layout changes later.